Showing posts with label Unit 3- Maya. Show all posts

Thursday, 21 January 2010

Unit 03 - Maya: Final Scene, Uncanny Hospital

Final Scene


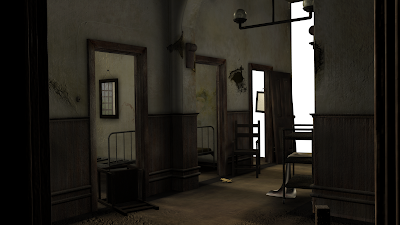
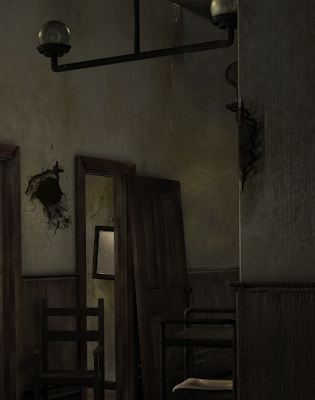
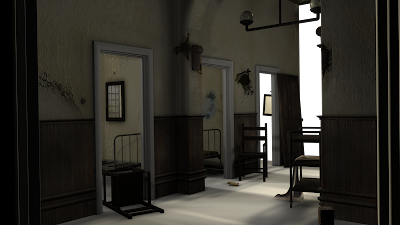
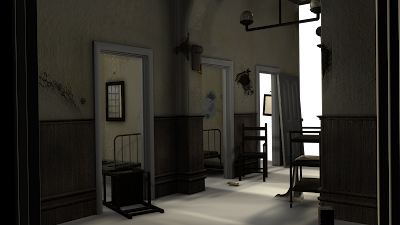
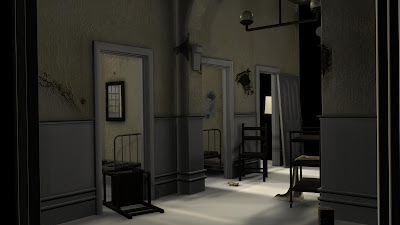
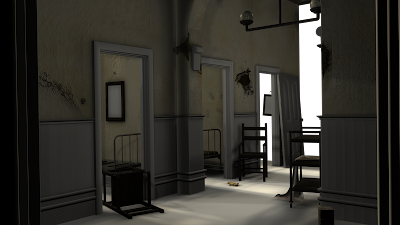
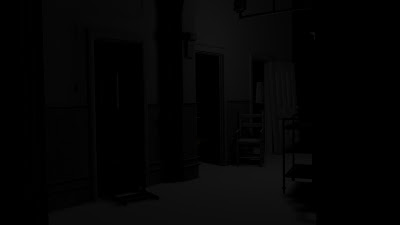
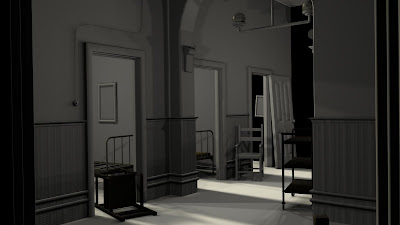
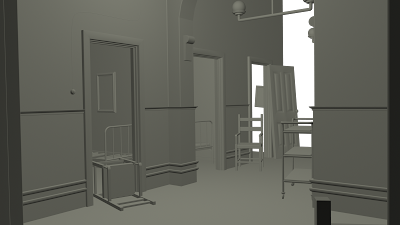
So this is my final scene where I linked the backdrop and the Maya rendering.

Maya Render

Backdrop


Also later, I shall post my evaluation alongside the crit's response towards this project.

Unit 03 - Maya:Hospital Scene Floor


After finishing texturing the wooden details of the corridor and tweak them as I wanted I moved on to the floor, for this I wanted to create a grunged floor but where the viewer was still able to define it.

Tuesday, 19 January 2010

Unit 03 - Maya: Door Texture and some more tweaking on the bumps


I finished the texture on the door with no problem,and its colour is looking quite similar to the other textures, which was my objective. but also, I have tweaked a little bit the bump depth on the wood as it was too deep and quite unreal.

And that leaves me with only 2 objects to texture the floor and the door frames.

Unit 03 - Maya: Skirting Boards textured


I have finally textured the skirting boards and some other wooden details in my scene, reproduce wood is quite difficult and adding the faded and old effect is even more complicated but i think I could achieve something im quite pleased with after a lot of tweaking...

if anybody got some tips they are more than welcome...

Monday, 18 January 2010

Unit 03 - Maya: Mirror Reflections


So I add some a problem when importing the mirror reflection blinn into the scene it didnt really reflect what I wanted, just half of it, but and according to Tutor Phil, I took it off the scene ( the reflection) and something strange happen, it started to reflect the fake wall and windows I have put to create more realistic shadows. It gave me an idea instantly, I leave it and started to create a metaphor with it, also to look more realistic I added a background picture of a outside view.
I think sometimes can happen good accidents!


Unit 03 - Maya: Hospital Scene Update

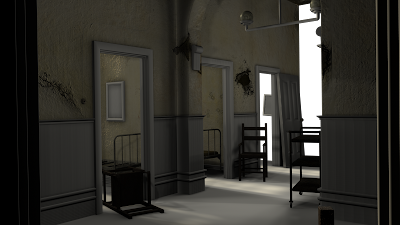
After reading some comments on my previous post I decided to do some tweaking related to the thickness of the door and the intensity of the bumps on the wall, As well a, start to texture some more objects. Here is the scene so far:

Sunday, 17 January 2010

Unit 03 - Maya: Final Details on the Corridor, Ncloth, etc.

Scene Updated

Once again I reviewed my scene to find what was missing and what in my opinion was missing logic.
so to start with I added a nail and a cord on the mirror as any mirror doesn't stand alone attached to the wall, after that I added the missing objects to my scene, the doll and the cloth.

As I didnt to get too confused with modeling an really organic and detailed doll, I decided to go for simple shapes, the object is just to add a more eerie sense to the scene, that will be completed by the rest of the textures.


Ncloth View
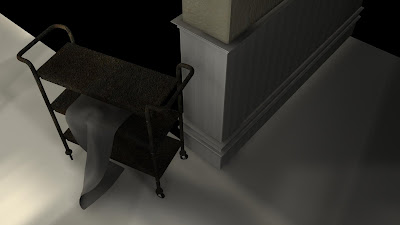

In the cloth matter, I always wanted to add a cloth into my scene hanging from the hospital table, so last Friday, I asked Alan, what tool was best for this purpose which he pointed me the really cool Ncloth, I didnt go further with ncloth as I know some 3rd years are having problems with it, I just really wanted the organic shape of cloth, also I played a bit with the attributes and presets. Really fun! I can say Ncloth FTW! :)

P.S- sry for the JPEG Quality
Unit 03 - Maya: Update on the scene

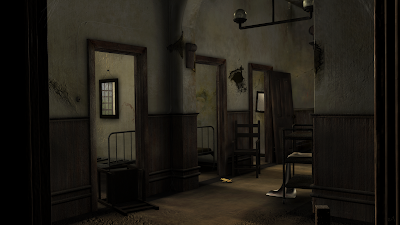
This post is just a update on the scene, I ahve finally change the lighting and, I may keep this one until the final render, I finished my walls texture and I think I achieved a really good effect on them.. with help from Simon, Phil and Rich.. who pointed me the right way :)

1st wall texture, I made it was too flat and didnt have any interesting cracks and grunge effects


Final texture of the wall, I added some major details as well as others.

Unit 03 - Maya: Final Details,' I am loving Bump Mapping'

After starting to look a bit more into Bump Mapping, I now understand how crucial they to make your scene look 'alive' or 3d , and leave the 'flat and 2d world, bump mapping added to spec mapping create the aesthetics of your environment. So I took a look through once again on Alan's tutorials and start to create my own bump maps and specs added to the colour.


Unit 03- Maya: Creating a 'fake' wall atmospheric purposes

I decided to create a 'fake wall' not textured, not with the uvs laid out just a plain model to give me the opportunity to create some more 'closed' shadows, meaning that the shadows wont go all the way through the hallway but instead stop when they reach the window or in this case the surface.


So far the scene layout is looking just like a scene produced in a studio, but it will have the reality factor in it.

Scene Layout

Friday, 15 January 2010

Unit 03- Maya: lighting tests on my scene (question for Alan)

I did some tests on my scene with lighting. After I asked Alan for some help, he dpointed me to create point lights, over the whole corridor and some inside the rooms to give some ambient lighting, and apply a directional light coming from the side ( I just have to model a plane and a window to create the light shape). Also, I did some experiments with some other attributes.


1 Point Lighting in the center of the room


5 Point Lightings on the corridor


Directional Lighting


Final Test


Alan, I did as you did on the Maya class but it's not looking the same, I have put the same attributes but I had to lower the number of lights, otherwise would look to bright. Also the shadows on the skirting boards look a bit weird, is it the shader? Thank you .

Thursday, 14 January 2010

Unit 03 - Maya: Progress on Hospital Scene

I finished to place the objects in the scene, as I had to import them I checked if the scale was right and so far looks fine to me, if anybody could check any mistake would be great if it let me know before I start texturing.

P.S: I will paint the white part as my digital painted background, and maybe camera will have some minor tweaks.
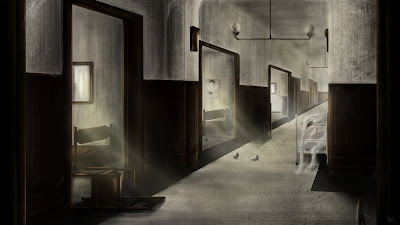
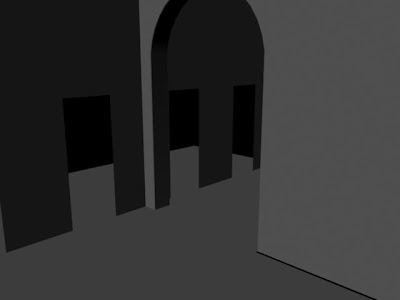
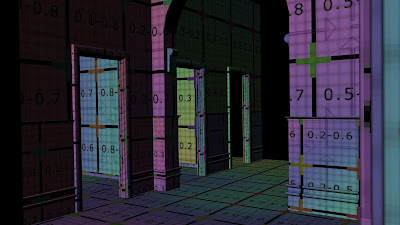
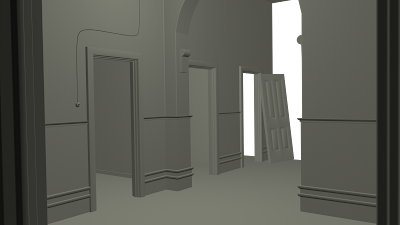
Anyway, I think I should take you into a 'time machine' trip throughout my progress on these modeling and laying out UVs Stage.


Unit 03 - Maya: Final Details on the Corridor

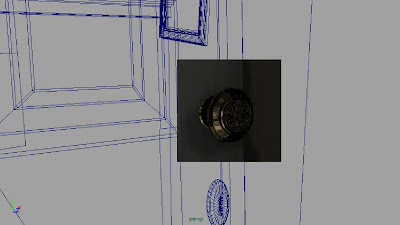
Today, I revisited the corridor scene and trying to find some missing objects that may have been, such as a doorknob on the door and respective keyhole.

Fairly easy to do and laying out the UVs, I will use the UVs for Bump mapping as the texture will be a 'dirty' gold.


And here is the scene now, ready to add the objects I have been modeling :)

Unit 03-Maya: Hospital Table Modeling and Uvs

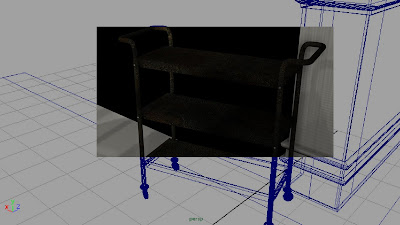
Yesterday, I spent most of the night modeling and laying out UVs for 1 of my last objects (yes, only 2 to go), the hospital table. coming from my own design based on reference pictures like the 1st image , I created something I am happy with.


Model


Wheels Detail
Uvs laid out

Wednesday, 13 January 2010

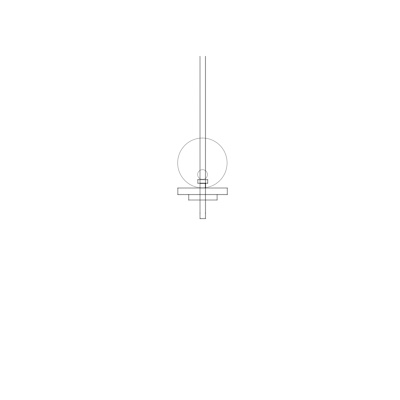
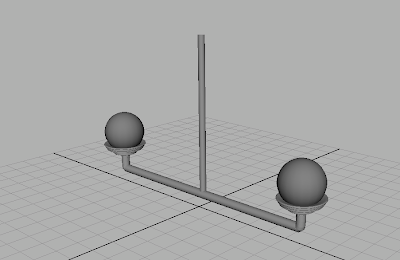
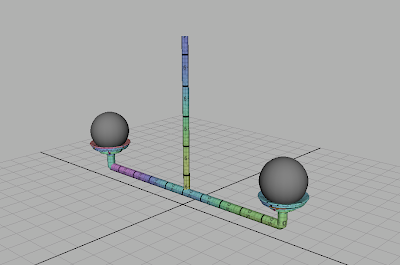
Unit 03 - Maya: Modeling and UV Layout for the Lamp

So I'm almost at the end of my modeling stage, and I realized that will be the most difficult, with the chandelier, the hospital table and the cloth to go. and maybe a go at the doll's head (nothing really complicated just a papier mache one), I will be ready to start texturing what I still need to :) and posterior editing with lighting and camera angles.


Most of this afternoon was spent trying to model the chandelier and laying out its UVs.
the design came from my own reference of pictures about Victorian ceiling lamps. although I have tweaked it a little bit while modeling.


Design:


Model


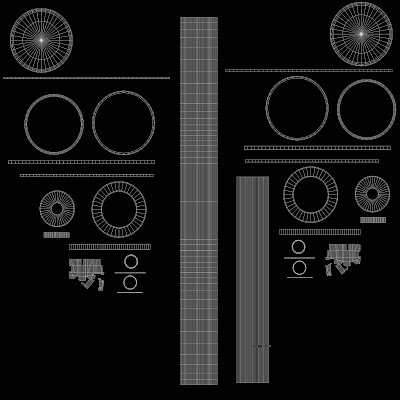
Uvs


UV Map


It is ready for some texturing in photoshop :) :)

Unit 03 - Maya: Update on Hospital Scene

A quick update on where this is heading!


I'll take Simon's and Richard's and work more on the textures of the hospital walls Rich pointed me amazing examples of old and faded wall textures that I will refer to when redoing my textures, after all was really late yesterday to do something worth in my scene :P. So now with some fresh memory and good reference pictures I will start to paint the wall once again. I would say a bit of DIY won't hurt anybody :).

As the world outside never stops in the Maya world happens the same, so I took a couple of hours in the morning to do some more modeling, some small details that will give a more realistic look to the scene.

I have created a light switch and a door, which in similarity with my concept will be placed next to the door frame but not in place.


On the door model, I will be adding a doorknob on the right of the door model.
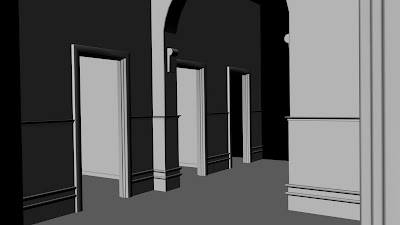
and now going back to the Maya World!!!

Tuesday, 12 January 2010

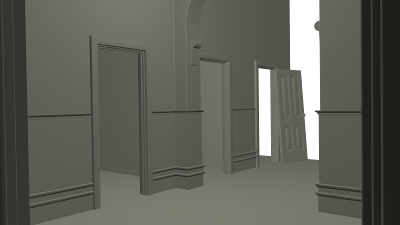
Unit 03 - Maya: Hospital Scene Uvs and 1st render

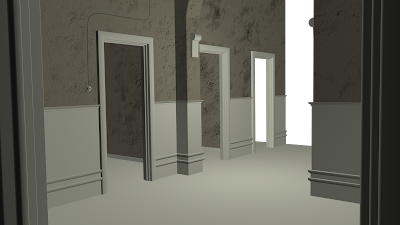
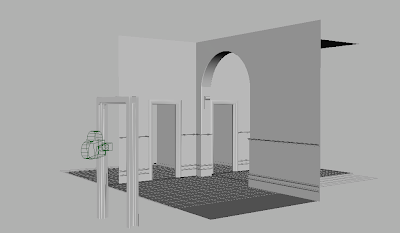
After a quite exhausting afternoon laying out Uvs, I have finally finished doing them on the main corridor scene, with the UV maps laid out, i'm ready to start texturing the whole scene.


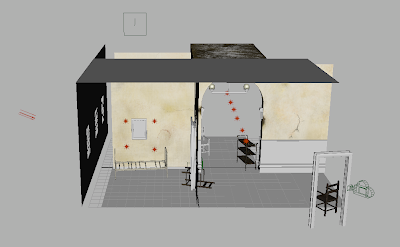
Model


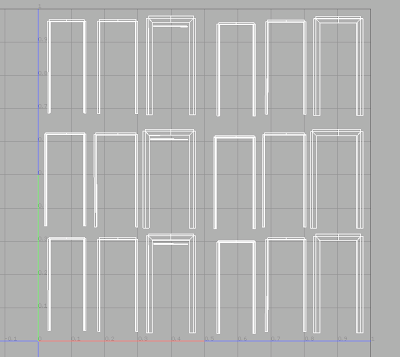
Uvs Laid out

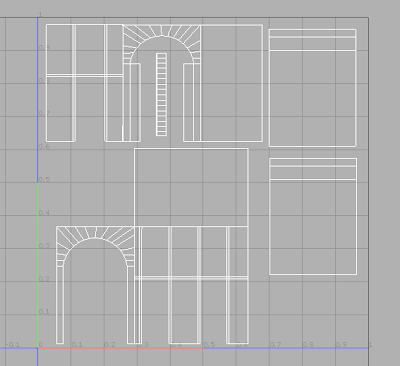
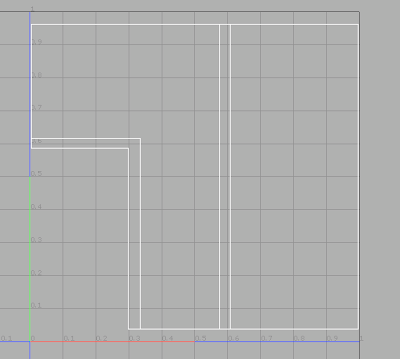
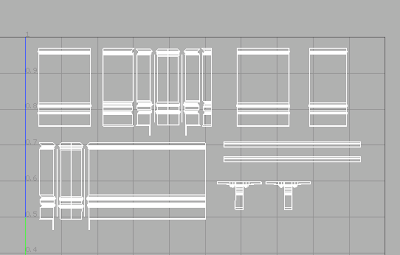
Uv Maps:

- Walls


-Floor


- Wooden Details
-Doors

Now, I will add some details such as a switch, to complete a bit more the scene.