Motion Blur
2D Motion Blur
Final Motion Blur Shot
2D Motion Blur Progress
3D Motion Blur
Final 3D Motion Blur Shot
3D Motion Blur Progress
Non- Deformations Motion Blur
Final Non- Deformed Motion Blur
Motion Blur Using Rasterizer
Lastly, but no less important, this tutorial, helped understand how to possibly reduce the render time, When using motion blur the objects will be moving at a certain, therefore a lot of detail doesn't need to exist. So by using the rasterizer option, instead of the Scanline, the render looks still similar but the render time was reduced by half a minute.
Final Motion Blur Rasterizer Shot
Motion Blur with Rasterizer Progress
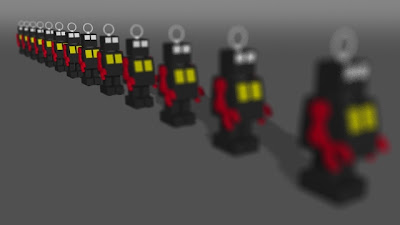
The second part of the mental ray tutorials this week was helping to understand depth of field, this is extremely useful, as it focus on certain things that could be missed at first.
Depth of Field
Depth of Field Progress Shots
Lens Bokeh Effect


No comments:
Post a Comment