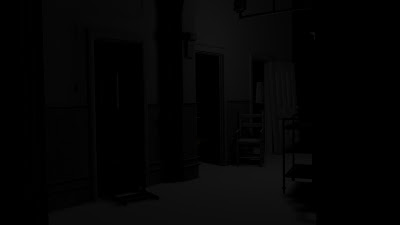
I did some tests on my scene with lighting. After I asked Alan for some help, he dpointed me to create point lights, over the whole corridor and some inside the rooms to give some ambient lighting, and apply a directional light coming from the side ( I just have to model a plane and a window to create the light shape). Also, I did some experiments with some other attributes.
1 Point Lighting in the center of the room
5 Point Lightings on the corridor

Directional Lighting

Final Test
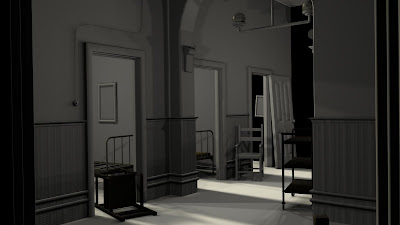
Alan, I did as you did on the Maya class but it's not looking the same, I have put the same attributes but I had to lower the number of lights, otherwise would look to bright. Also the shadows on the skirting boards look a bit weird, is it the shader? Thank you .


5 comments:
The scene looks great so far, the lighting in the last image is really well done, once you get the few issues your having worked out I think it will suit perfectly.
Hey Ruben - your scene is really coming together :-) I'm v. excited! The lighting is bringing the while image to life - I know you've got more tweaking to do - and I've got a thought for you; I know you're planning to use the shadow of a hanged person in one of the rooms... if it doesn't work finally, or it tips the image too far, have the courage to do without it...
thank you phil.. I have to check that ... it can become rather dull if it doesnt show the effect I want...
im painting the walls with Simon holland, Phil hosking and rich help ... as it will be the second main directional elements ( the 1st being the light and perspective) they are coming along nicely, I will post them later in the topic which I will name , ' I'm loving Bump Mapping' :) alongside the other finer details and its textures.
Hi Ruben
The truth is, the more lights you have the better....But the longer it takes to render. The trick is to lower the intensity uniformly and keep the lights away from objects (to avoid hotspots). Also keep the shadows blurred except for you key light (sun).
The attributes I changed for the point lights were:
Intensity = 0.1 (Dependent on the amount of lights)
Use Depth Map Shadows = On
Resolution = 256
Filter Size = 15 (Tweak to suit)
I can now see what I did wrong, filter size, boinks ... I will change it now... :) thanks Alan.
Post a Comment