
This process was based on the Gnomon Workshop DVD- Introduction to ZBrush 3 Interface and Workflow by Ryan Kingslien. In this DVD tutorial, Ryan Kingslien introduces us to Zbrush a powerful sculpting software used nowadays in the industry to create stunning CG Models. Although he explains the software from the very basic to more advanced stuff, my interest laid on using it to create a textures which later would be applied to my model.
Following the tutorial, I firstly exported my base mesh ( the head that I have modelled before) from Autodesk Maya as an OBJ File and imported to ZBrush. While in Maya is often used to create base meshes, particle and fluid simulations, keyframe animation, etc. Zbrush is mainly used for sculpting the base meshes into more detailed and visually stunning models.

Base Mesh Head
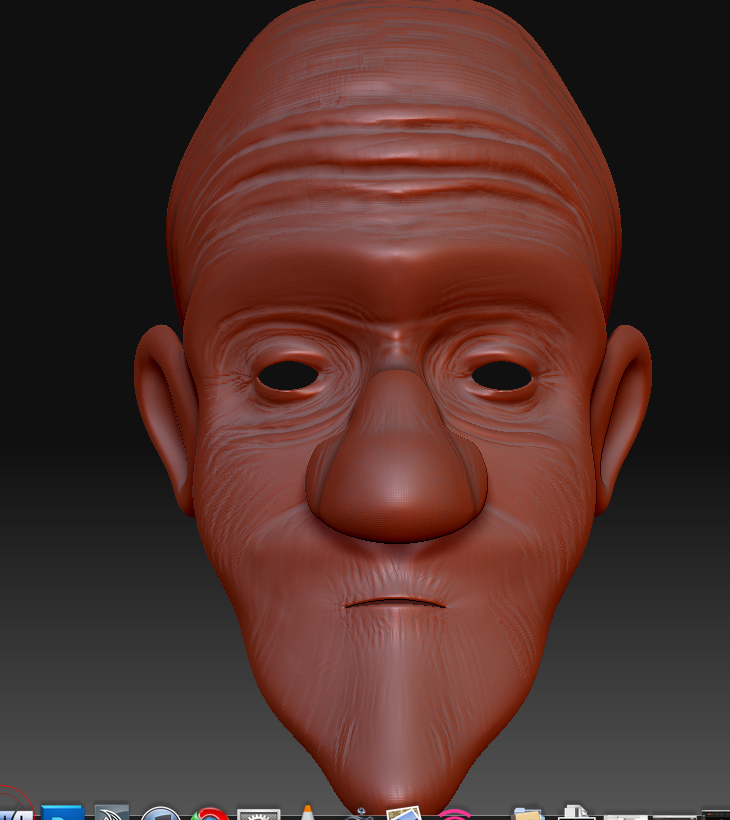
What followed was a really intuitive process, which consisted in mainly look at the model and recreate possible creases that a elderly person would have. Based on reference pictures I began to sculpt the head.
until I got the following outcome.

When I was happy with the sculpting, I returned to the tutorial and watched the following step. In the tutorial, Ryan Kingslien used a plug-in for Zbrush called Zmapper, which allows to capture the normal map out of a sculpted mesh. In basic terms, it allows to get a map (normal map) with data, that when applied as a texture onto a low poly mesh it receives the same bump value, therefore it looks the same.
Having a Apple Mac and finding the the Zmapper plug-in hasn't been released for it, this process was done differently. By using the Zbrush default normal map exporter, I was able to gather the same map with data based on the sculpted head. However a few issues rose, when exported I found out that the map was flipped and it would not sit well with the already laid out UVs. Tough after taking it onto Photoshop, I just flipped and worked fine. Mentioning laying out UVs, for texturing this way it is crucial to lay out UVs well and never use any auto-mapping tool, otherwise problems with the texture will be more.

Erich Zann Normal Map
Though I found out a problem about my Uvs, though we were taught to lay out Uvs for a head this way, By planar mapping the head and then cut the central edge and unfold. I found out that for a bald head the Uvs have to be laid out differently if you don't want to have a ugly line of either colour texturing or normal maps down the centre, the head has to be laid out in portions. This will not be a problem if your character has hair.
Returning to the process, I opened the exported normal map in Adobe Photoshop, flipped it and began to clean it. By using a clone tool or the normal brush, I soften some of the bumps and mainly tried to hide the centre line on the head. When happy with the normal map, I saved it and it was ready to bed added in Maya.
In Maya, I created a Blinn texture shader, connected the Colour map and Spec Map, previously painted by me, and under the bump map added a file node and connected the normal map file and from the drop-down menu chose Tangent Space Normals... Voila!! It was done!

Before After
A few thing I have learnt from this process:
-With this way of creating bump maps, you can get a lot of detail onto a low poly mesh, therefore a crucial method used in the games industry.
- Laying out the UVs correctly is the key to create great normal maps without facing problems of mesh penetration that can occur when connecting the normal map onto the Low Poly mesh.
- Normal Maps are really powerful and when used have to be careful managed otherwise you can create extremely excessive bumps onto a face.
- Although you need to stare for hours in front of a purple map, you can adjust the map as you want with photoshop tools such as Clone tool and Spot Healing Brush.
Now I will use the same process to texture the insane head of Erich Zann. I must admit that using normal maps is the way forward in texturing characters therefore a process I'm willing to do everytime from this time onwards.
1 comment:
I look forward to seeing the turnaround!
Post a Comment